This is not your normal “ProjectileObjects” post (don’t expect normal).
Here’s a tutorial for 3D printing foot weight that up-cycles an old snowboard binding. I hope it helps someone out!
TL:DR (To long didn’t read?) Skip to the bottom of the page for the tutorial or visit the cults page for the 3D printed file: https://cults3d.com/en/3d-model/tool/diy-leg-weight-for-knees-over-toes-guy-exercises
(( Do this at your own risk // 3D prints can vary in strength and leave room for user error.))
Take caution before you start tibialis raises over a glass table!
In mid-January, my good knee became my bad knee after a jog with my friend’s dog and the wrong shoes. I was eventually referred to the “knees over toes guy”. Learning from his online videos and signing up for the zero program, I recovered without surgery, and strengthen my knees better than before. Here I am 6 months later, pain free, and making a 3D printable design to help others.
If you don’t have an old snowboard binding, check your local ski/snowboard retail or rental shops. Big thanks to PuddinFlaps (https://puddinflaps.wixsite.com/mysite) for giving me some old bindings.
If there’s enough interest in this, I’ll make a bolt through design for more strength, and another design to fit a kid’s snowboard binding, which will require less modification in order to get the straps to fit your foot size.
Note: If you’re trying to lift more than 50lbs, consider one of the off-the-shelf options out there.
MonkeyFeet https://animalhousefitness.com/ or a Tib Bar: https://www.thetibbarguy.com/
The benefits of this design are price and flexibility. I can strengthen my full range of motion!
Tutorial:
- Download the files from the Cults3D website. Print follow the print and infill instruction there.
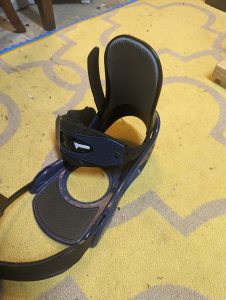
- You’ll need a snowboard binding with a burton style plate design. Many bindings use this design, but not all.

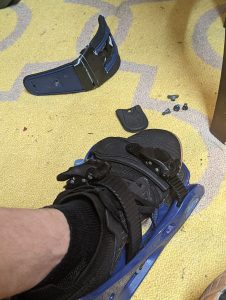
- Unscrew and remove the back ankle support (if you want full range of motion).
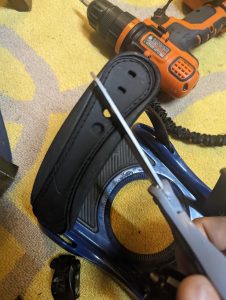
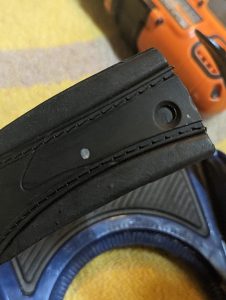
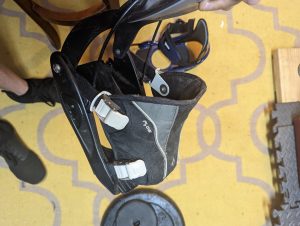
- Modify the straps so they can tighten securely while you’re wearing your normal shoes. (These bindings are design for a larger “snowboard” boot and typically do not work with tennis shoes.)
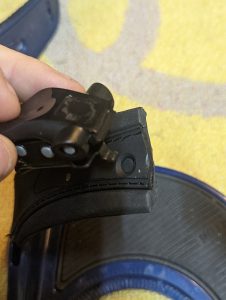
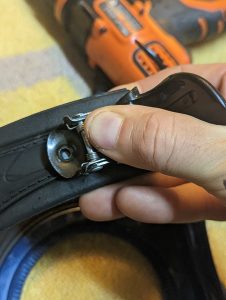
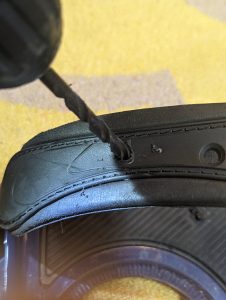
This is where you’ll have to get a little creative. So far, in the few pairs of bindings that I’ve modified, it’s usually as simple as unscrewing the buckle, cutting the strap shorter, and inserting the buckle into another part of the strap. See the gallery below as an example:
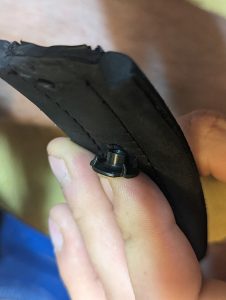
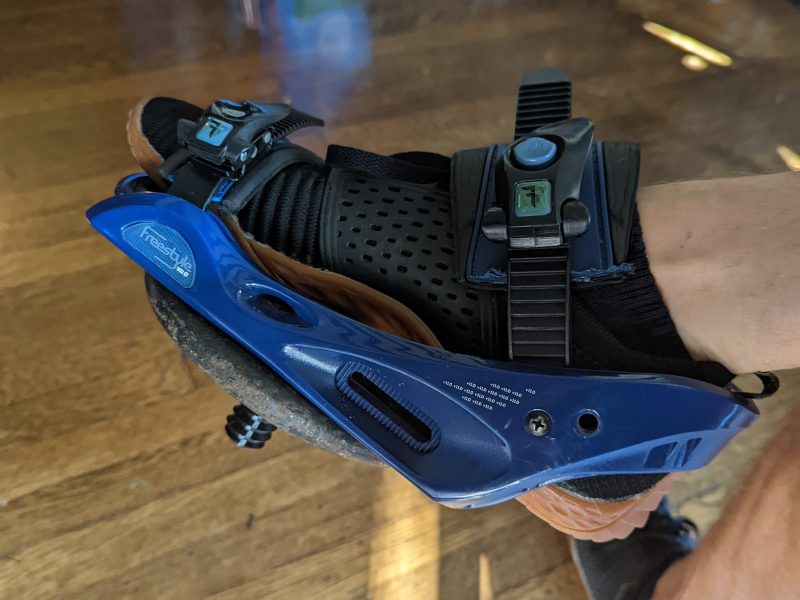
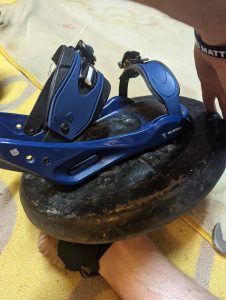
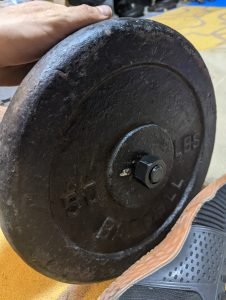
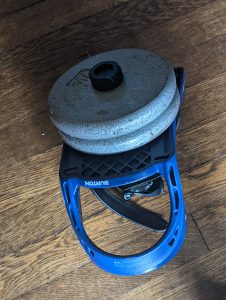
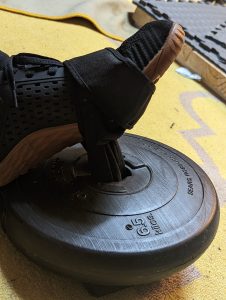
After you’ve modified your binding to fit your foot, insert the 3D printed design, add a weight, and tighten the nut. It’s that simple. As I mentioned before, if there’s enough interest, I’ll make a design that fits a kid’s binding (for less modification), and a bolt through design that can handle more weights.

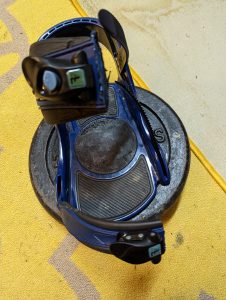

Note: Some bindings won’t work! This flow binding doesn’t have a separate part for heel support. After you’ve removed the calf/ankle support, it’s wide open. This style is not desirable:
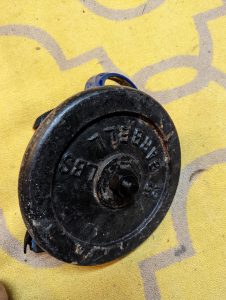
Lastly, if there’s a will, there’s a way! I started these exercises by putting a strap through an old weight, or using a dumbbell and floss bands.


0 Comments