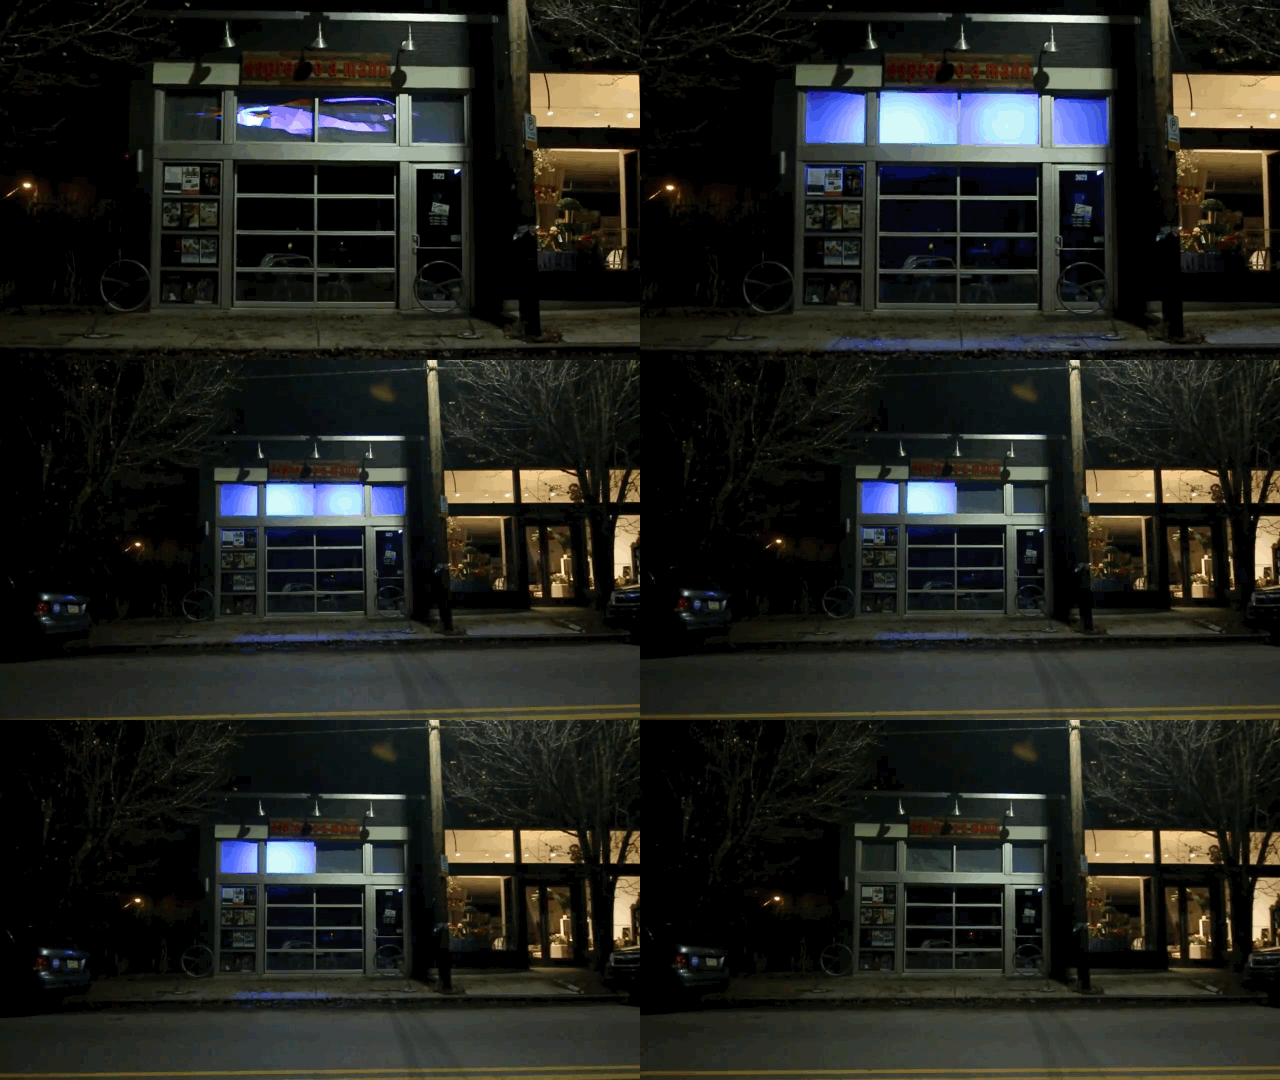
Original Blog post from Projection-Mapping.org before it retired.
DIY: Automated projection mapping installation.

Projection mapping installations are cool. Here’s a DIY method for automating your own…
The sun goes down, the lights come on, and viola, you can make anything happen. But not all projectors have a built-in schedule or RS232 port to deliver a controlled shutdown and give the bulb time to cool off. But, this shouldn’t stop you from making an eye-catching installation. With some simple tools and tricks, you can set up an automated system that will give you control from wherever you are (Wifi required).
How this works:

Not all projectors support built-in scheduling. Or if they do, they may not support times for individual days of the week. Most do offer “Direct Power” listed as an On/Off function. Direct power means the projector will automatically start up when it receives power. Additionally, most projector’s have an auto power off timer. i.e., After some minutes, the projector will shut down when no sources are detected (HDMI, VGA, S-Video, RCA, etc.). Taking those two factors into account let’s look at how you can use these two built-in functions to automate your installation.
We need a projector and a playback device to drive our content. In this example, I am using MadMapper’s MiniMad, but you can also use a PocketVJ, iOS, Amazon or Android Device, or even a simple media player with pre-mapped content rendered out. Anything that will auto-play when it’s plugged in.
(Note: the most cost-effective way that I’ve found of building a looping media player is a raspberry Pi Zero ($5), using omxplayer command line loop parameters. Here’s the bit of code: @ProjectileObjects.com

This setup is identical to a dual projector installation that I set up at a local coffee shop, read more about the open projection mapping project.
We’ll use two AC on/off switches to regulate the powering to both the Projector and Media player.
Here’s video from a dual projector installation using this same tech.
What you need:

- – Projector
- – Media Player
- – 2x Power Switches ( Simple On/Off Timer, 7-Day timer, or IoT on/off switch)
Which AC on/off device?

- New tech has made it cheap and easy to set up an IoT Wifi AC Outlet. Web apps such as Belkin’s Wemos offer an account where you can set a schedule for all your devices. This option works great if you want to change the daily schedule without revisiting the location. The downside is that if there’s no wifi, or the wifi drops out, there won’t be any projections; or worse, the devices will never shut off :(. Note: I’m using an off-brand outlet based off of ESP8266 chipset. You can build your own for about $5.

- My favorite is a 7-day timer that you can get on the internet for about $10. Here’s a two pack ( I like this one because each timer has two 3-prong outlets w/Ground, no unfortunately not, they cannot be individually scheduled.) These can be a little cumbersome to program, but they are solid even if the power drops out for a few days.

- If Monday-Sunday’s are all the same, a basic on/off timer will get the job done. (Like my grandma used to use to tell burglars she wouldn’t be home.) Be sure not to confuse your AM & PM’s; a 24-hour clock would be smarter.

Configuring your setup.
- Go into the menu of your projector and turn “Direct Power” on and set the Auto-shutdown timer to 5 minutes. They may be in the Advanced menu options. Test to make sure this is working by starting with your projector off and plugging in the IEC cable. The projector should turn on and after 5 minutes, shut off. Does it? If not, you may have to change your menu settings, consult the owners manual if all else fails, buy a different projector.
- Set each timer’s master clock and keep them in sync. Label your timers; one should say “Projector,” the other “Player.”
- Write down your schedule, be aware if you are affected by Day-light savings time and mark your calendar. For example, we will use this one from a previous install: Mon-Thur:9PM-11PMFri & Sat:9PM-2AMSunday:6PM-9PM
- Now it’s time for the hard part. We want both our Projector & Player timers to turn “On” at the same time. With my 7-Day timer, I set both switches to power on at 9 PM Mon-Sat, and 6 PM on Sunday.
- We want the media player to shut off 15-20 minutes before the projector loses power. So I’ll set the Player switch to power off at 11 PM Mon-Thurs, 2 AM Fri & Sat, and 9 PM on Sunday.
The Player will power off; the projector will start its auto shut down countdown for 5 minutes. Now we want to program the Projector outlet to power off when the lamp has cooled down. We’ll give it 30 minutes to be safe. The Projector outlet will power off Mon-Thurs @11:30 PM, Fri & Sat @ 2:30 AM, and Sunday at 9:30 PM. And that’s it! Make sure everything’s secure in place, double check the timers to be sure that they are powering on and off at the correct times. The Projector’s power must cycle completely (on/off) for the “direct power on” function to work. If you liked this article and wanted to learn more, leave comments and feedback below, and tell us what other tutorials you’d like to see.


